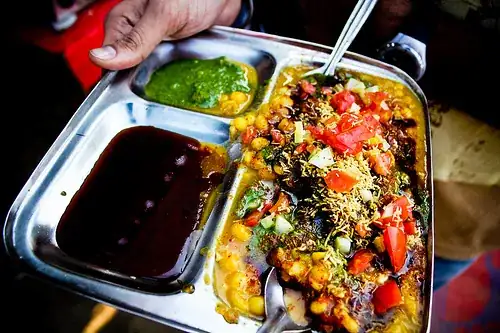
Jerry's answer is spot-on, diffused white lighting with good white balance is essential.
The next best opportunity for controlling your colour saturation is at the RAW to jpeg conversion. Your final opportunity is in Photoshop/Gimp but I have found it is best to do it at the RAW conversion stage.
In my case, since I use Ufraw, these instructions are specific to that tool. I select the Colour Matrix option and then increase the saturation slider above 0 according to taste and the end effect desired.
You have one other option, and that is local contrast enhancement. This gives the image more 'snap' and boosts the colour a little.
These instructions are for Gimp, but Photoshop is quite similar. Create a duplicate layer and set the Mode of the duplicate layer to 'Soft light'. Now drag the opacity slider to somewhere between 0 and 100. I find that 40 works for me most of the time. Then flatten the layers.


